Step-by-Step Guide: How to Mount a TV on Your Wall
How to Mount a TV on Your Wall
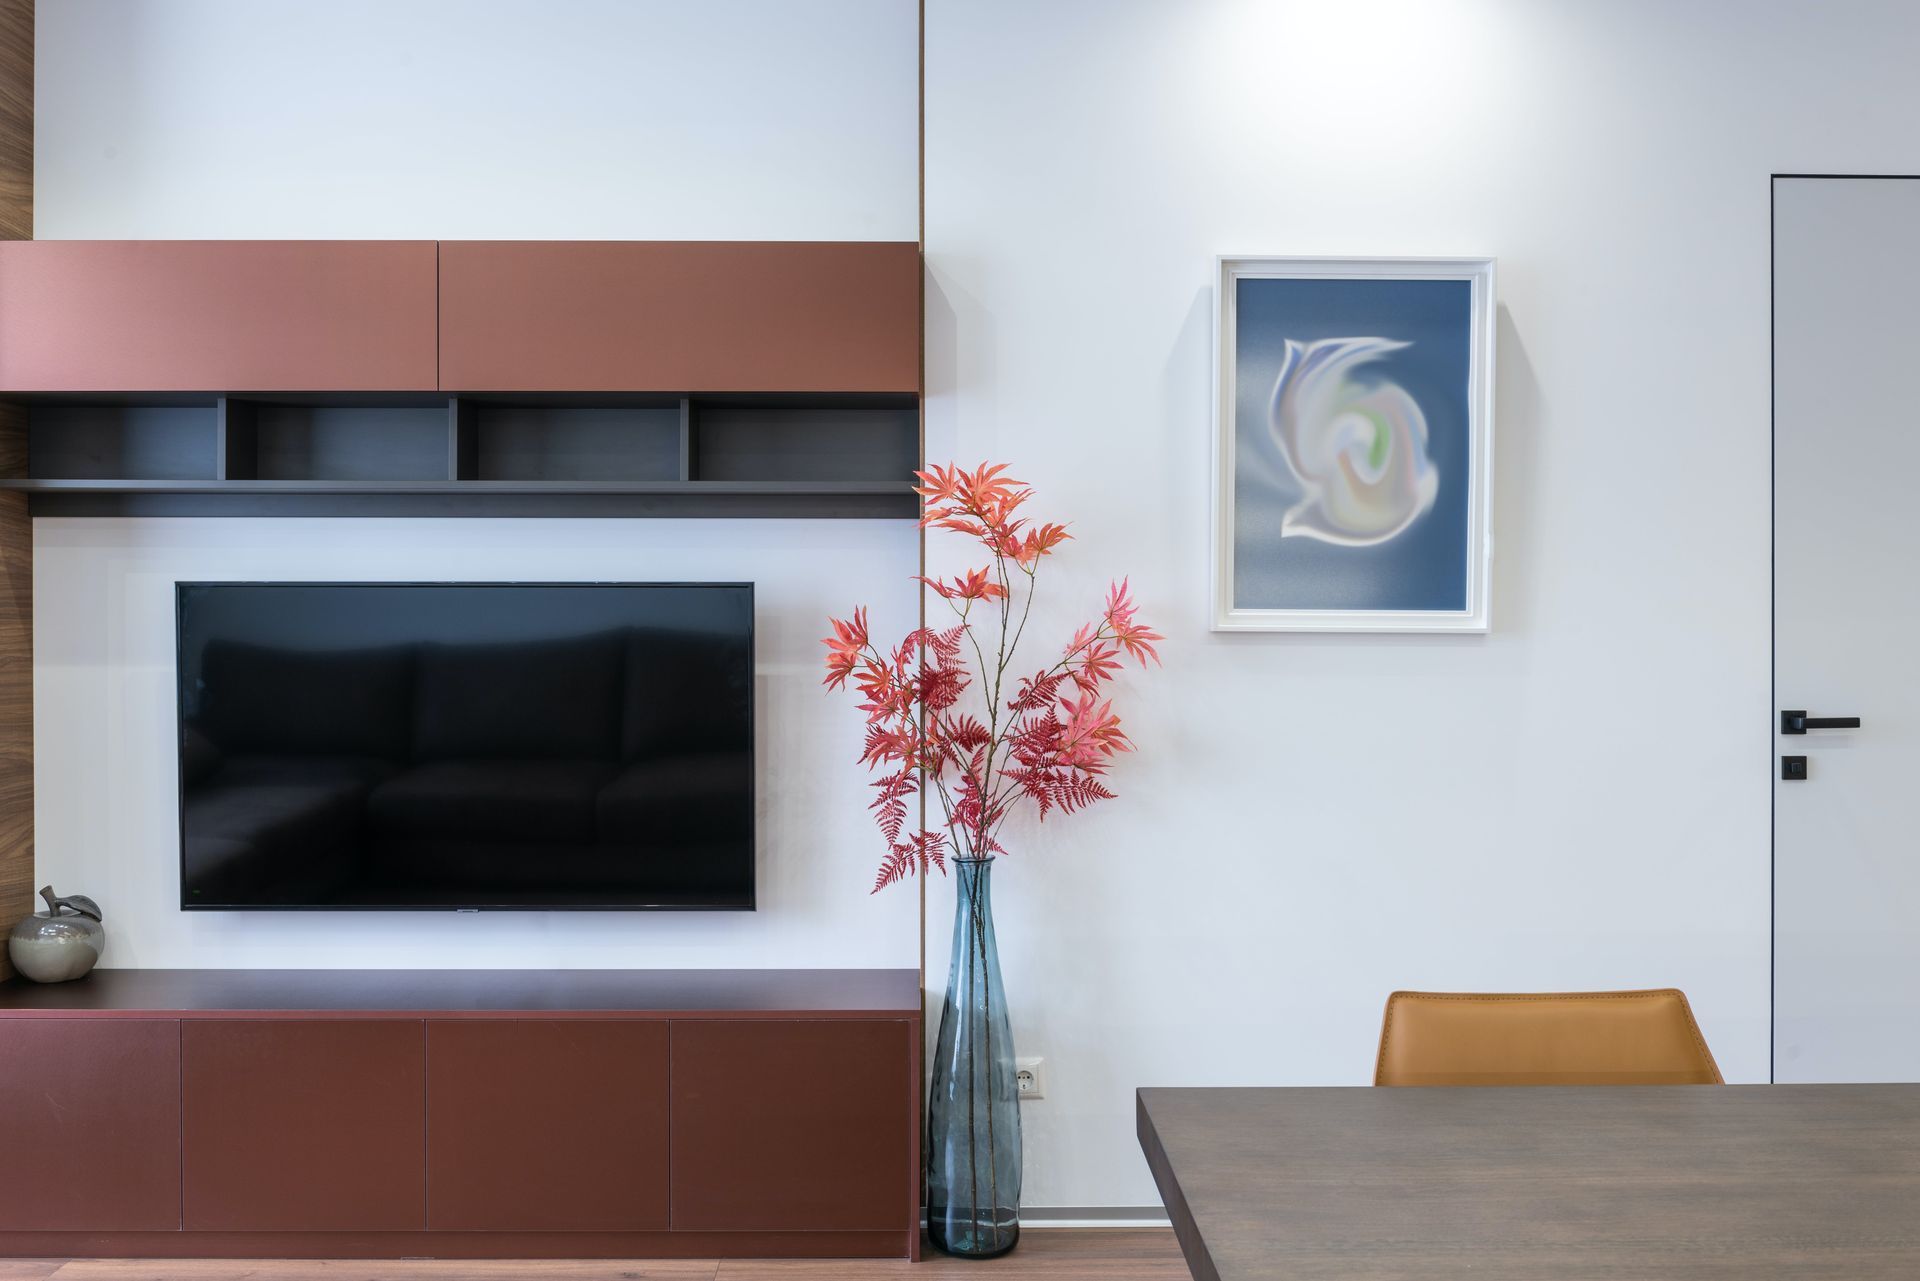
Are you ready to transform your living space by mounting your TV on the wall? In this step-by-step guide, we will walk you through the process of securely mounting your TV, ensuring a space-saving, aesthetically pleasing, and immersive viewing experience. By following these instructions, you'll be able to address ten common problems and enjoy the benefits of a wall-mounted TV.
Step 1: Choose the Right Wall and Height Before you begin, select the appropriate wall for mounting your TV. Ensure it is structurally sound and can support the weight of your TV. Consider the viewing angles and make sure the height is comfortable for everyone in the room.
Step 2: Gather the Necessary Tools and Equipment To mount your TV, you'll need a few tools and equipment such as a stud finder, a drill, a level, screwdrivers, a socket wrench, and the mounting bracket that is compatible with your TV model. Ensure you have all the tools ready before you start the installation process.
Step 3: Locate the Wall Studs Using a stud finder, locate the wall studs where you'll be mounting the TV. Studs provide the necessary support and stability for your TV. Mark the stud locations with a pencil or masking tape.
Step 4: Attach the Mounting Bracket Follow the manufacturer's instructions to attach the mounting bracket to the back of your TV. Make sure it is securely fastened and aligned properly. Double-check that the bracket is level to ensure a straight and balanced installation.
Step 5: Drill Pilot Holes With the help of a drill bit slightly smaller than the screws provided with the mounting bracket, drill pilot holes into the marked stud locations. This will prevent the wood from splitting when you insert the screws.
Step 6: Mount the Bracket on the Wall Align the mounting bracket with the pilot holes and attach it to the wall using the screws provided. Make sure the bracket is level and firmly secured to the wall. Test its stability by gently pulling on it to ensure it is securely in place.
Step 7: Attach the TV to the Bracket With the help of another person, carefully lift the TV and align it with the mounting bracket. Gently lower the TV onto the bracket, ensuring it locks into place. Double-check that the TV is securely attached and level.
Step 8: Conceal the Cables To achieve a clean and organized look, consider using cable management solutions. These can include cable covers, in-wall cable routing, or adhesive clips to hide and secure the cables along the wall. This will prevent unsightly cables from detracting from the aesthetics of your wall-mounted TV.
Step 9: Adjust the Viewing Angle Depending on your preference, you may want to adjust the viewing angle of your TV. Most wall mounts offer tilt and swivel features that allow you to achieve the perfect viewing position. Follow the manufacturer's instructions to make any necessary adjustments.
Step 10: Test and Enjoy Once you have completed the installation, make sure to test the TV and all its functions. Check for any loose connections or issues with the mounting. Sit back, relax, and enjoy your newly mounted TV, free from the problems you previously faced.
By following this step-by-step guide, you can successfully mount your TV on the wall, addressing ten common problems and enjoying the benefits of a wall-mounted TV. From choosing the right wall and height to securely attaching the mounting bracket, concealing cables, and adjusting the viewing angle, you'll be able to create a space-saving, visually appealing, and immersive viewing experience. Say goodbye to cluttered spaces, limited viewing angles, and unsightly cables, and embrace the transformative power of a wall-mounted TV. Elevate your entertainment and transform your living space today!
If you don't have the correct tools or time to do the job, Rent-a-Papa is here to help. For a FREE estimate, give us a call or fill out the form below.
You might also like